Blender is a great piece of open-source 3D modelling software and ships with a powerful rendering engine. Creating high quality renderings of 3D models requires many lessons to learn. Regard this post as one of these lessons. We will illustrate, how to equip your 3D model with a shadow.
We start from a standard cube mesh, that is present in the default startup file of blender. We assign a material to the cube, and as you probably already know, the material will define how the cube will be rendered. The blender tutorial describes in detail, how to create and assign a new material to an object. For our tutorial example, we simply assign an RGB value of 0.4/0.8/0 to the cube.
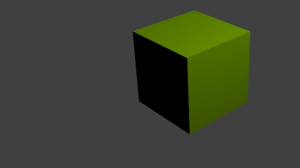
Pressing F12, the keyboard shortcut for rendering, we get a first impression of the rendered cube. Hitting ESC brings us back to the modelling window.
Let us get rid of the grey background. In the World settings, we click the Horizon Color button and choose a completely white horizon color. Pressing F12 another time, we see the white background now.
To create shadows we need an object that receives the shadows. Right now, the cube hangs in the air and its shadow runs into the void. For the purpose of getting a shadow, we place a mesh plane right beneath the cube, so that the cube elevates slightly above the plane. We scale the plane such that it extends well around the cube.
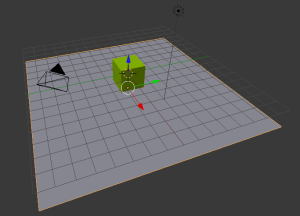
We add a translated and scaled mesh plane to the scene. The plane will receive the shadow of the cube.
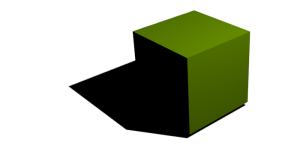
Our next task is to make the plane invisible, such that it display the shadow only. We add a completely white material the mesh plane and check in the Shadow subgroup nearly at the bottom of the material settings the Shadows Only option. Therein, we choose Shadow Only from the dropdown box as well. Hitting F12 we see that we already get a shadow on an invisible plane.
We are nearly there. The shadow right now is very sharp. We prefer fuzzy shadows however, that give the rendering a smoother appearance. For this, we select in object mode the default light source.
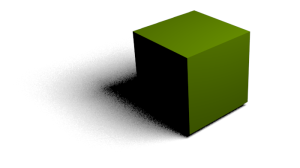
In the Object data tab for the Lamp, we can set not only light intensity and color, but also the Number of Samples in the Shadow group of settings close to the bottom of the tab. We increase the number of samples to 5. Think of every sample as a rendering pass, with the light source slightly displaced. Aggregating all shadows yields the intended fuzzy result. The amount of displacement is
set with the Soft Size slider next to the number of samples option. The higher, the more fuzzy the final result will be. Let us choose a value of 4 for the Soft Size.
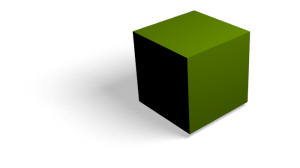
One thing is still missing. The shadow is fully black and of rather low quality. In order to get a proper grey shadow, we adjust the alpha value of the plane mesh’s material transparancy sub-group (you need to check Transparancy to access the alpha value). The smaller the alpha value, the less intense the shadow will be.
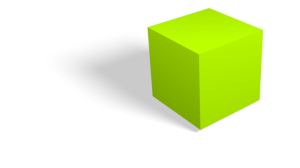
Playing around with light and camera settings and adding a second light, we obtain our final result.
References
There are various forum posts in the blender community that discuss one or another aspect of rendering shadows. I found this post here in particular useful.
